How To Make Cement Planters: DIY Concrete Planters

If you want to learn the steps on how to make cement planters, then you’re in the right place. Making your own cement planters is surprisingly easy. Furthermore, it’s an inexpensive way to fulfill your gardening needs at home.

Image Credit: Amazon
With a concrete planter, you are free to create your own molds. You can use dishes, cardboard, milk cartons, or perhaps, purchase your own pre-made molds. The shape and size of your cement planter will basically depend on the variety of plants that you will choose to grow in it. So here’s how to make cement planters.
Choose your Mold

Image Credit: Concretemolds
As mentioned, there are several different kinds of molds that you can use in making our own cement planters. Thus, before you begin, you need to decide on the type of concrete planter molds that you want. For this DIY project, you will need an inner mold and an outer mold of similar shapes but with different sizes. The smaller mold must be nestled inside the larger mold and with a gap of 2 to 5 inches. Take note that the gap in between the molds will be the thickness of the wall of your cement planter.
If buying concrete planter molds is not an option, consider making your own molds. Simply cut two pieces of cardboard boxes that will serve as the outer and inner mold. Other items that you can use as molds are plastic bowls, glass plates, and stainless steel. Nevertheless, if you want to create beautiful DIY concrete planters, consider investing in a concrete planter mold.
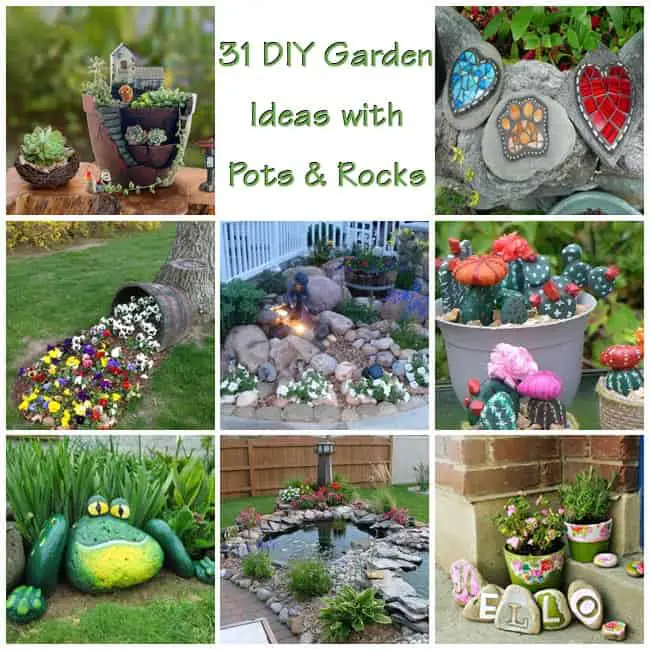
Also Read: 31 gardening Hacks and Tips for your Garden
Spray the Molds

Image Credit: Brandnewell
Once you have chosen your molds, the next thing to do is to spray the molds with a spray lubricant or mineral oil. This is necessary in order to make it easier for you to remove the molds later. If you’re using glass as your mold and you don’t want to break the glass later, consider spraying the glass molds with the lubricant or mineral oil.
Prepare the Concrete

Image Credit: rowhousenest
The next step on how to make cement planters is to prepare your cement or concrete. You can choose to mix the concrete in a wheelbarrow or in a tub. Use crack-resistant concrete to ensure that your concrete flower pots will not get cracked easily. To prepare, pour the desired amount of concrete into the tub or wheelbarrow. Add water and gradually mix until such time that you achieve a consistency that’s similar to a batter. Refer to the packaging of the concrete for the instructions on how to prepare the concrete.
One of the most important things to remember when it comes to the steps on how to make concrete planter is to wear a pair of garden gloves. This is to keep your hands protected from concrete. You can use kitchen gloves or any durable gloves if you have no garden gloves.
Decorate your Pot

Image Credit: Instructables
Be as creative as you can when it comes to learning how to make cement planters. Express your creativity by decorating your planter with anything that fancies you. Feel free to attach pebbles, decorative glasses, beads, shells, or any other material that you see fit. Just make sure you will not end up drastically altering the concrete when decorating your DIY Concrete Planters.
If you love painting, consider painting your concrete flower pots, but only after it has already dried up. You can skip decorating the pot if you will choose to paint it instead.
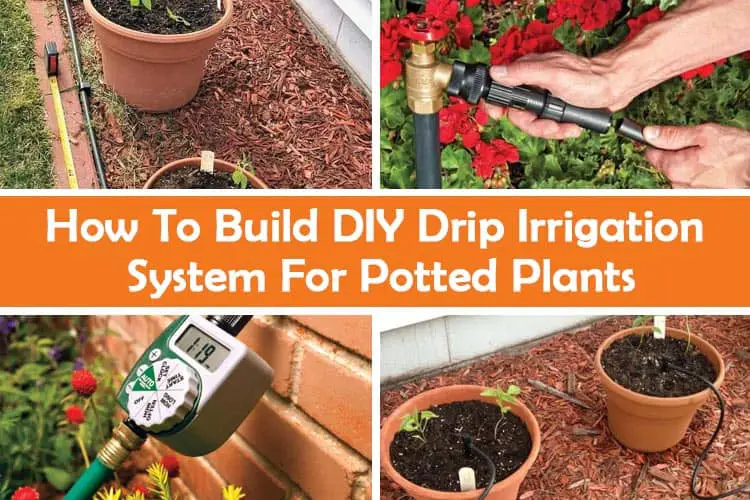
Also Read: How to Build DIY Drip Irrigation System for your Potted Plants
Pour the Concrete to the Molds

Image Credit: DIY Network
Now we’re on to the most important step of how to make large concrete planters and that is to pour the cement you have prepared into the molds! You can choose to add drainage in your planter. This is especially an important step on how to make large concrete planters, because large planters usually require proper drainage. To do so, simply embed drainage pebbles at the base of your planter. Otherwise, drill holes at a later time, about two days after your large concrete planter has dried up.
Make sure you pour the concrete evenly towards the bottom of the outer mold. This will serve as the base of your concrete planter. After pouring the concrete on the molds, even out the concrete using a trowel to smooth out the surface.
Next, press the inner mold into the concrete until such time that the base has achieved the thickness you desired. One of the things to remember here is to ensure that the walls and the base of the planter have the same thickness, although you can also choose to have a thicker base if you want to.
Pour concrete in the space between your two concrete planter molds. Continuously tamp with a trowel and gently push the concrete along the edges of the molds in order to ensure a smooth surface for the walls and to prevent the air bubbles from developing. Once you reach the top portion of the planter, even off the surface and smoothen it out using a trowel.
Leave the Planters to Dry

Image Credit: ligetsziget
Now we’re on to the final step of creating cement planters and that is to leave it to dry for at least 36 hours or 1 1/2 days. Make sure you wrap the planters before putting it to dry under the sun.
After 36 hours, test the concrete strength by poking the planter with a knife or screwdriver. This should give you an impression if the concrete is already dry or if it’s still wet.
If you are certain that the concrete is already dry, remove the inner mold slowly. If you’re using a cardboard as mold, this is the time to peel it off. Now is also the time to break the glass if you’re using glass molds.
After you’re done removing the inner mold, it’s time to remove the outer mold. With the use of a scouring pad or rough brush, smooth out the surface of the planter.
Leave the planter to dry for one more week. After a week, rub the planter with a wet cloth or sponge or until such time that its color will darken. Afterwards, let the planter to dry for two more days to further strengthen the concrete. After two days, you can drill holes at the base for proper drainage.
Also Read: 25 Best Ground Cover Plants for your Garden
Grow your Plants

Image Credit: Pinterest
Finally, your concrete planters are done! Now it’s time to start growing your flowers and plants. So set the pot under the sun, pour some soil and plant your plants.
Final Thoughts
So if you’re planning to grow some plants, yet you do not have enough planters to use, these steps on how to make cement planters should get you covered. Just make sure you make the planters when the sun is at its peak or when the temperature is below 10°C or 50°F.