Tulip Planting Guide (How to Get Perfect Blooms!)
Picture a spring garden transformed by waves of brilliant tulips in shades of ruby red, sunshine yellow, and deep purple velvet.
These stunning blooms don’t happen by accident… they’re the result of careful planning and proper planting techniques that any gardener can master.
The secret lies in understanding what tulip bulbs need to thrive, from selecting quality specimens to creating the perfect underground environment. With the right approach, those dreamy displays become reality.
Quick Summary
- Select firm, unblemished bulbs and plant them six to eight weeks before the ground freezes in well-draining soil.
- Plant bulbs pointy-end up at three times their height, typically six to eight inches deep, with adequate spacing.
- Ensure cool soil temperatures (40-50°F) and adequate chilling periods for proper root development and blooming success.
- Deadhead spent blooms immediately, but allow foliage to remain for six weeks post-flowering to replenish bulb reserves.
- Improve soil with organic compost, maintain pH between 6.0-7.0, and apply mulch for winter protection and moisture retention.
Understanding Tulip Varieties and Choosing the Right Bulbs for Your Garden

How does one begin the enchanting journey of selecting tulip bulbs that will transform an ordinary garden into a springtime masterpiece? The secret lies in understanding varieties and choosing quality bulbs.
Larger bulb size promises more robust blooms, while smaller ones suit naturalized plantings. Consider the stunning range of tulip color options, from deep burgundy to soft butter yellow, brilliant scarlet to gentle lavender.
Single early tulips bring swift spring joy, while parrot varieties offer frilled, dramatic petals. Darwin hybrids stand tall and sturdy.
Select firm, unblemished bulbs that feel substantial in the palm, ensuring they’ll deliver spectacular results.
The Best Time to Plant Tulips for Maximum Spring Impact

The calendar holds the secret to breathtaking tulip displays, and timing proves absolutely essential for spring garden success.
The tulip planting timeline begins six to eight weeks before the ground freezes solid, typically falling between September and November across most regions. Cool soil temperatures between 40 and 50 degrees Fahrenheit trigger proper root development without premature sprouting.
Seasonal weather considerations matter tremendously, as bulbs need adequate chilling periods to produce those gorgeous blooms gardeners dream about each spring.
Early preparation rewards patient planters with spectacular color carpets when winter finally surrenders to warming sunshine and gentle breezes.
Essential Soil Preparation and Drainage Requirements
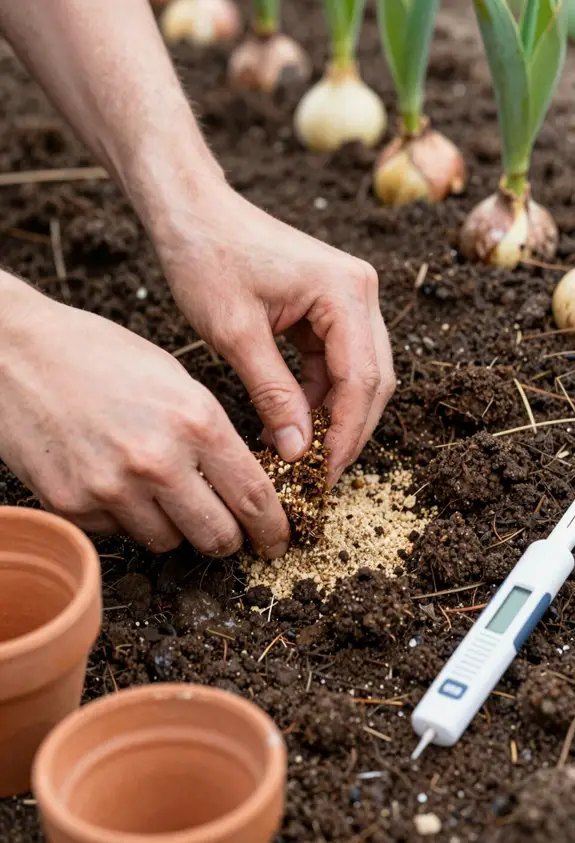
Perfect timing means little without the right foundation beneath those precious bulbs, and soil quality determines whether tulips thrive or merely survive.
Transform heavy clay or sandy earth into a bulb paradise through drainage improvement with organic compost mixed twelve inches deep.
Test your soil pH, aiming for that sweet spot between 6.0 and 7.0 where tulips flourish magnificently.
| Soil Component | Purpose | Amount Needed | Application Method |
|---|---|---|---|
| Compost | Nutrient enrichment | 2-3 inches | Mix thoroughly |
| Coarse Sand | Drainage improvement | 1-2 inches | Blend with clay |
| Bone Meal | Root development | 2 tablespoons | Add per bulb |
| Peat Moss | Moisture retention | 1 inch | Incorporate evenly |
How Deep and How Far Apart to Plant Your Tulip Bulbs
Three critical measurements separate spectacular spring displays from disappointing, sparse blooms, and mastering depth plus spacing transforms ordinary plantings into breathtaking tapestries of color.
Plant bulbs at depths three times their height, typically six to eight inches deep for most varieties. This planting depth protects them from frost while encouraging strong root development.
Position bulbs four to six inches apart for stunning clusters that create waves of vibrant color.
Proper bulb spacing allows each stem adequate room to flourish without crowding, producing those dreamy carpets of scarlet, sunshine yellow, and pristine white that transform gardens into springtime paradise.
Selecting the Perfect Location: Sun, Shade, and Protection
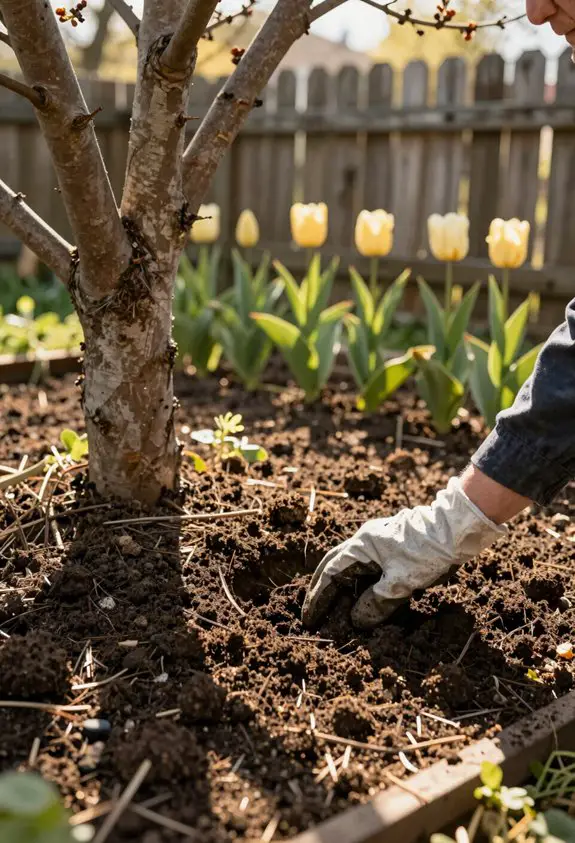
Knowing depth and spacing matters little if bulbs sit in soggy shade where they’ll sulk instead of shine.
Tulips crave full sunlight exposure, needing at least six glorious hours of direct rays daily to produce their signature vibrant blooms. Morning sun paired with afternoon shade works beautifully in warmer zones, protecting delicate petals from scorching heat.
Choose spots with excellent drainage where soil moisture never pools or lingers after rainfall. Avoid planting beneath dense tree canopies or against north-facing walls that block precious light.
Wind-sheltered areas near fences or hedges provide ideal protection, allowing stems to stand tall and proud without snapping or bending during spring breezes.
If you’re working with a shadier garden space, consider incorporating shade-loving plants like begonias, coral bells, or ferns to complement your tulip displays in brighter areas.
Step-by-Step Tulip Planting Instructions
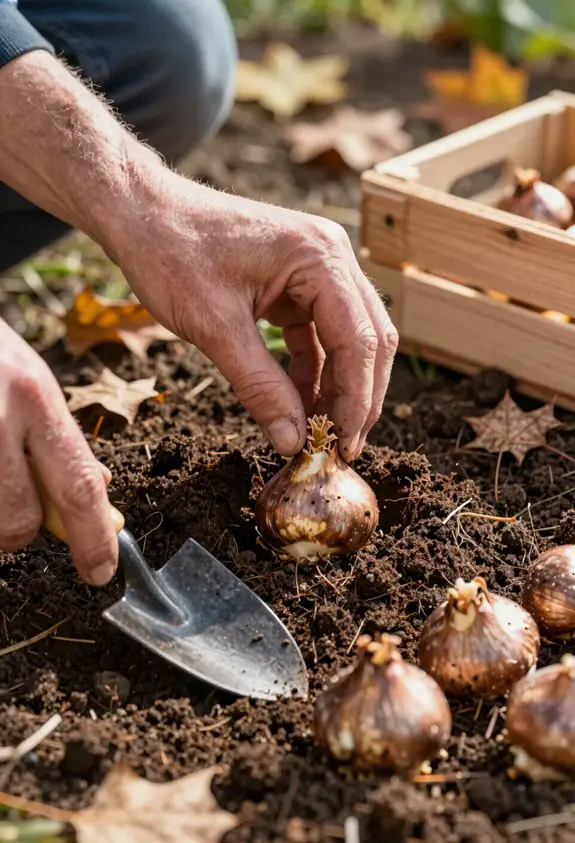
Autumn’s crisp air signals the perfect moment to transform bare garden beds into future masterpieces of spring color.
Begin with careful tulip bulb selection, choosing firm, unblemished bulbs that promise vibrant blooms.
Gather essential planting tools, including a sturdy trowel, measuring tape, and garden gloves.
| Planting Step | Details |
|---|---|
| Dig holes 6-8 inches deep | Pointy end faces upward |
| Space bulbs 4-6 inches apart | Creates stunning clusters |
| Cover with rich soil | Pat gently, water thoroughly |
| Mark planted areas | Prevents accidental disturbance |
Each buried bulb holds extraordinary potential, awaiting transformation.
Watering and Fertilizing Your Newly Planted Bulbs
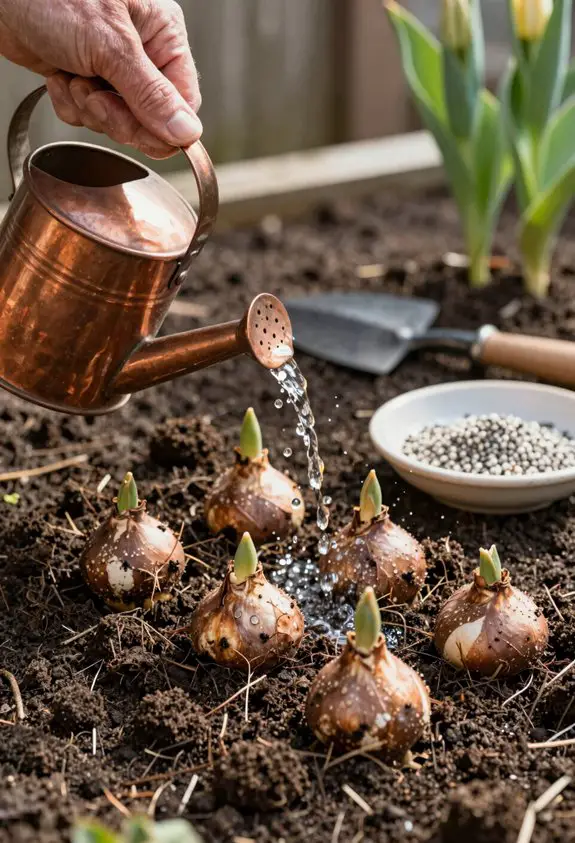
Proper hydration determines whether dormant tulip bulbs will awaken into spectacular spring displays or languish beneath the soil.
Master these bulb hydration techniques and nutrient timing strategies for breathtaking blooms:
- Initial watering – Drench planting areas thoroughly after positioning bulbs to settle the soil and activate root development.
- Fall moisture – Monitor rainfall levels, supplementing with deep watering during extended dry periods before the ground freezes solid.
- Spring emergence – Resume gentle watering when green shoots appear, maintaining consistent soil dampness without oversaturation.
- Fertilizer application – Sprinkle balanced bulb food across beds in early spring, nourishing stems destined for magnificent color displays.
Protecting Tulip Bulbs From Pests and Diseases
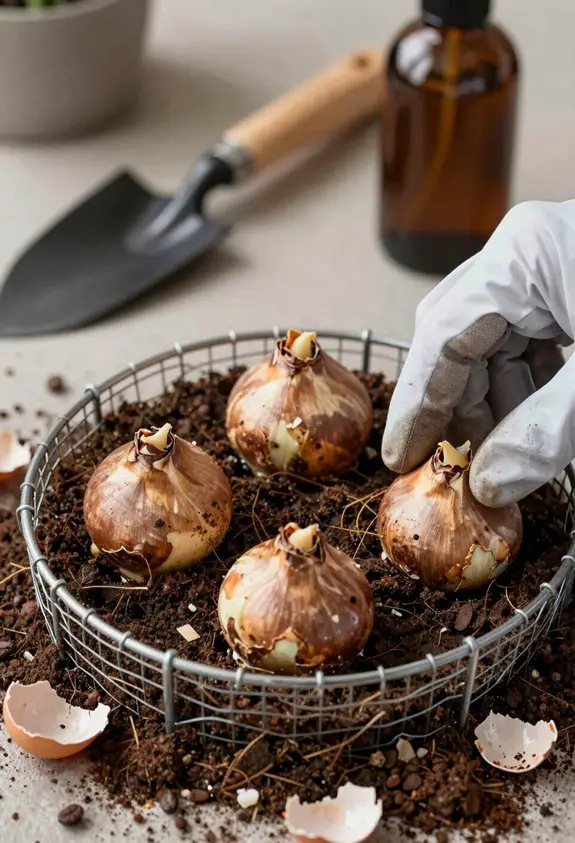
While underground treasures rest beneath winter’s blanket, hungry creatures and hidden threats lurk nearby.
Effective pest management begins with wire mesh barriers that shield bulbs from squirrels and voles seeking winter meals.
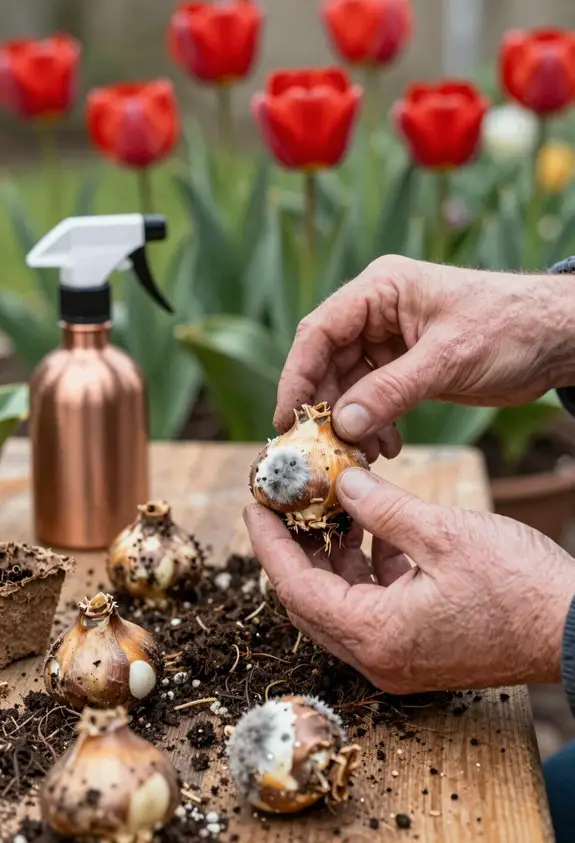
Disease prevention requires proper drainage and healthy bulbs free from soft spots or mold.
Natural deer repellents can also protect tulip plantings from browsing deer without harming other wildlife in your garden ecosystem.
| Threat | Protection Method |
|---|---|
| Squirrels & Voles | Wire mesh cages, cayenne pepper |
| Fungal Diseases | Well-draining soil, proper spacing |
| Bulb Rot | Inspect bulbs, avoid overwatering |
Garden success depends on vigilant care that transforms potential problems into vibrant spring displays bursting with magnificent color.
Consider planting companion flowers like marigolds around tulip beds to create natural barriers against various garden pests while adding visual appeal to your landscape design.
Winter Care and What to Expect During Dormancy
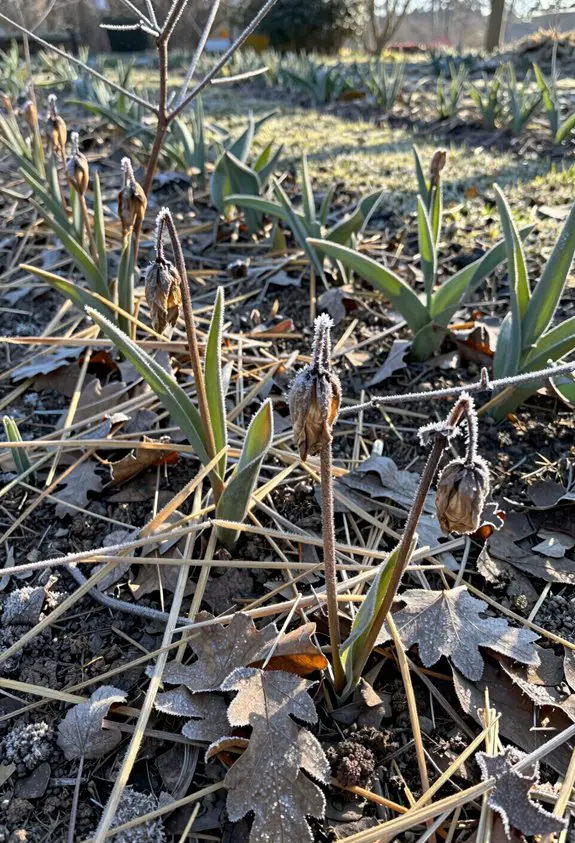
As temperatures plummet and frost crystallizes across garden beds, tulip bulbs enter their essential dormancy phase beneath layers of earth and snow.
This restful period allows bulbs to gather strength for spectacular spring displays, requiring minimal intervention from gardeners.
Winter protection strategies include:
- Apply 2-3 inches of mulch over planting areas to insulate bulbs from extreme temperature fluctuations.
- Ensure proper drainage to prevent waterlogged soil during winter thaws.
- Remove mulch gradually as temperatures warm in early spring.
- Monitor for any heaving that exposes bulbs to damaging cold.
The dormant phase transforms hidden bulbs into vibrant springtime treasures.
Post-Bloom Maintenance for Long-Lasting Tulip Displays
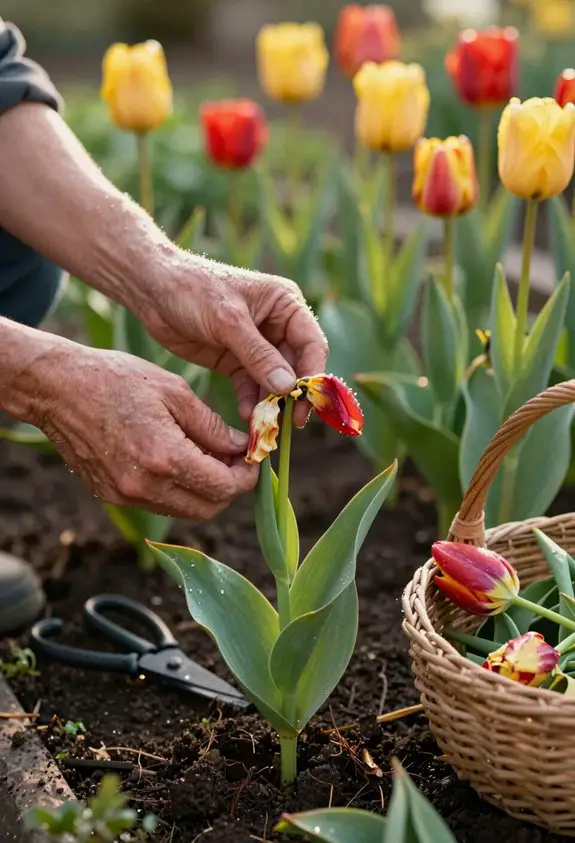
Once tulip petals fade and flutter to the ground, thoughtful gardeners shift their attention to nurturing the plants through a crucial recovery phase.
Proper deadheading techniques involve snipping spent blooms at the stem base, preventing energy-draining seed formation while maintaining garden beauty.
The real enchantment happens through diligent foliage care, allowing those slender green leaves to photosynthesize for six full weeks after flowering ends. This patient approach replenishes bulb reserves for next season’s spectacular display.
Resist the urge to braid, bundle, or remove foliage prematurely, even as it yellows and wilts, because these final weeks determine whether tulips return gloriously or disappoint.
Troubleshooting Common Tulip Problems and Fixes
Even the most attentive gardeners encounter mysterious setbacks when growing these beloved spring blooms, from stubborn bulbs that refuse to emerge to flowers that collapse unexpectedly.
Understanding common tulip diseases and planting errors transforms frustrating failures into successful gardens bursting with vibrant color.
Essential troubleshooting solutions include:
- Combat bulb rot by improving drainage and checking soil acidity levels before planting.
- Address pest control issues by inspecting bulbs during bulb storage periods.
- Prevent color fading by selecting appropriate sun exposure for each variety.
- Correct late blooms through proper chilling requirements and strategic planting depths.
These straightforward fixes guarantee show-stopping springtime displays.