How to Propagate Rosemary From Cuttings (Step by Step Guide)
Fresh rosemary thrives in sunny gardens and cozy kitchens, filling spaces with its pine-scented charm and silvery-green beauty.
Growing this beloved herb from cuttings transforms a single sprig into an endless supply of aromatic branches, perfect for seasoning roasted potatoes or infusing olive oil.
The process requires just a few simple materials and a gentle touch, rewarding patient gardeners with robust new plants within weeks.
Anyone can master this rewarding technique and cultivate their own flourishing rosemary collection.
Quick Summary
- Cut 4-6 inch healthy green stems at a 45-degree angle below a leaf node using sharp pruning shears.
- Remove bottom leaves, leaving 2-3 clusters at top, ensuring two inches of bare stem for rooting.
- Root cuttings in water using clear glass jars or directly in well-draining soil in small terra-cotta pots.
- Maintain temperature between 65-75°F with bright, indirect light for 6-8 hours daily during root development.
- Keep humidity at 50-70% by misting leaves daily or using a clear plastic dome until roots establish.
Gather Your Materials and Supplies
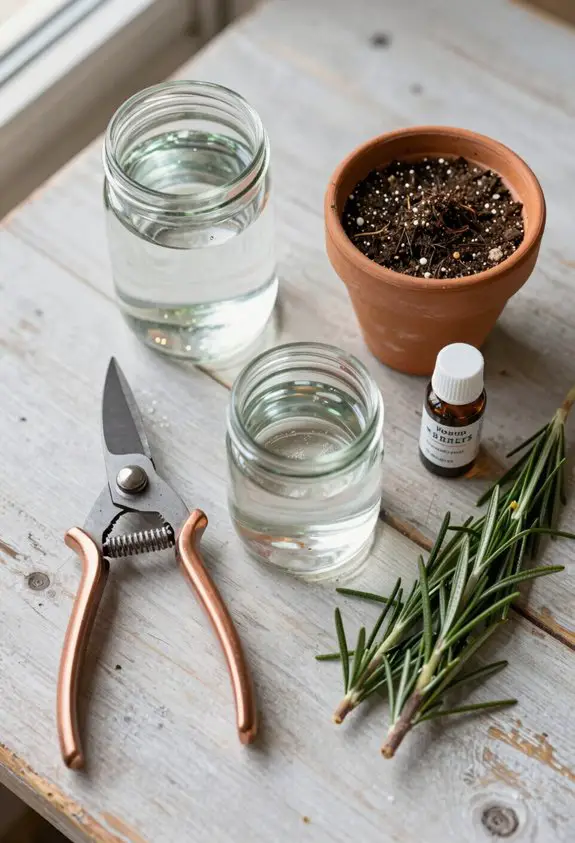
Before diving into the rewarding process of multiplying rosemary plants, assembling the right tools transforms a simple garden task into an organized, peaceful experience.
Sharp pruning shears with gleaming blades ensure clean cuts that promote healthy root development. Small terra-cotta pots in warm earth tones cradle new beginnings perfectly. Quality potting mix, light and airy, creates the ideal foundation for successful propagation techniques.
Clear glass jars showcase emerging roots like tiny white threads reaching downward. A sunny windowsill bathed in golden light becomes the nurturing stage.
These essential tools work together harmoniously, turning simple cuttings into thriving plants.
Select and Cut Healthy Rosemary Stems
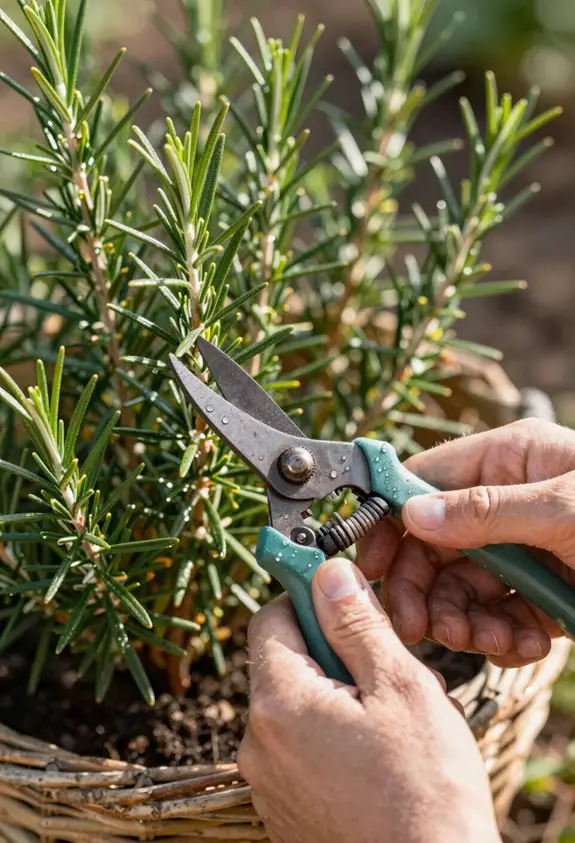
The perfect rosemary cutting begins with morning selection, when stems brim with moisture and energy from the cool night air.
Stem selection requires identifying vibrant green shoots approximately four to six inches long, displaying fresh growth at the tips.
Using sharp, sanitized scissors or pruning shears ensures clean cuts without crushing delicate plant tissue.
| What to Choose | What to Avoid |
|---|---|
| New green growth | Woody brown stems |
| Flexible branches | Flowering shoots |
| 4-6 inch lengths | Diseased foliage |
| Morning-cut stems | Afternoon cuttings |
Cutting techniques demand precision snips at a forty-five-degree angle just below a leaf node, creating optimal surface area for root development.
Prepare the Cuttings for Rooting
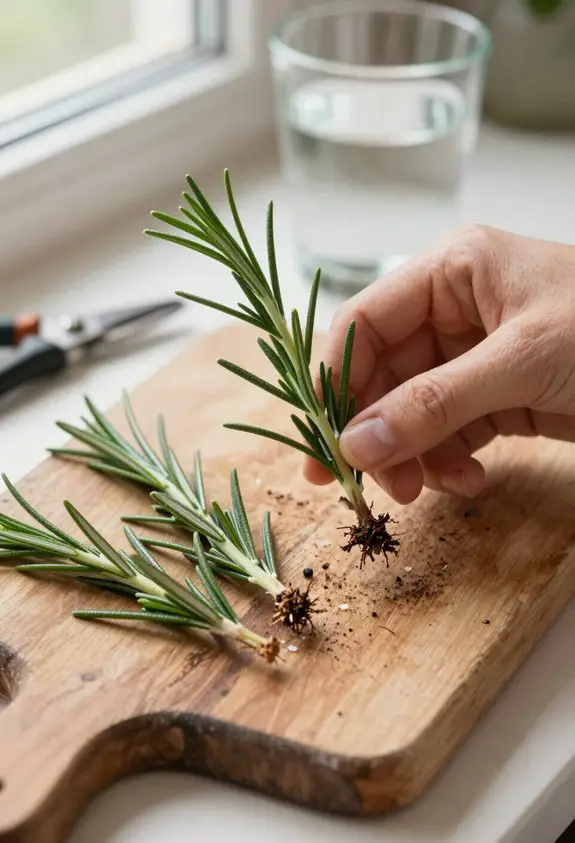
Fresh cuttings transform into thriving plants through careful preparation that maximizes their rooting potential and survival chances.
Strip away the bottom leaves, leaving just two or three clusters at the top to create a clean stem ready for planting. This essential stem preparation allows the cutting to focus its energy on developing strong, healthy roots instead of supporting excess foliage.
Proper cutting techniques involve making a fresh diagonal cut at the base, exposing more surface area for root development.
The bare stem section should measure approximately two inches, creating the perfect foundation for successful propagation and future growth.
Choose Your Rooting Method: Water or Soil
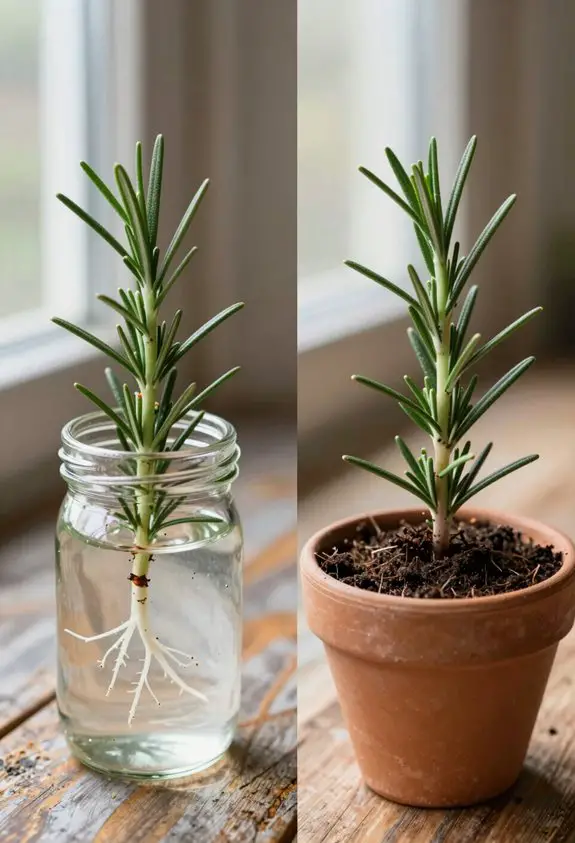
Two distinct pathways emerge for nurturing rosemary cuttings into flourishing plants, each offering unique advantages that suit different gardening styles and preferences.
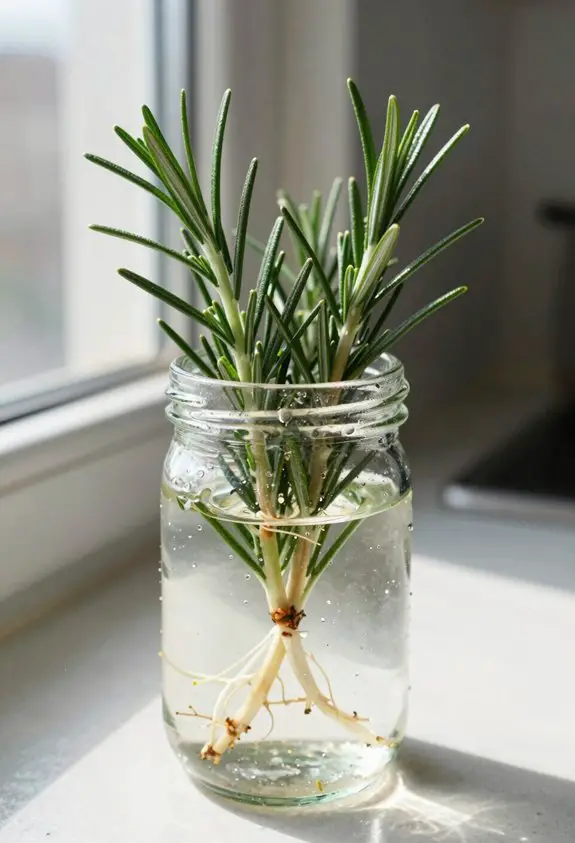
Water propagation allows gardeners to witness delicate white roots emerging through transparent glass containers, creating a living display on sunny windowsills. This method provides constant visibility of root development and requires minimal materials.
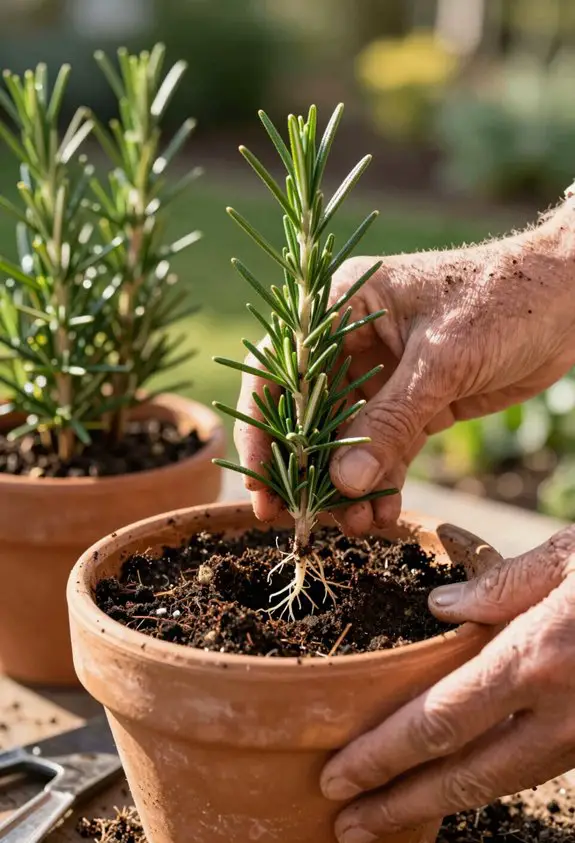
Alternatively, soil propagation establishes cuttings directly in their permanent growing medium, encouraging stronger root systems from the start.
Small terracotta pots filled with well-draining potting mix create ideal conditions for stems to anchor themselves firmly, developing robust foundations for future growth and abundant harvests.
Provide Optimal Conditions for Root Development
Once positioned in water or soil, rosemary cuttings thrive when surrounded by warmth, bright indirect light, and consistent humidity that mimics their Mediterranean origins.
Picture your cuttings basking near a sunlit window, away from harsh afternoon rays that could scorch tender new growth.
| Condition | Ideal Range |
|---|---|
| Temperature | 65-75°F |
| Light Requirements | Bright, indirect 6-8 hours |
| Humidity Levels | 50-70% |
| Air Circulation | Gentle, consistent |
Misting delicate leaves daily maintains perfect humidity levels while a clear plastic dome creates a mini greenhouse effect.
Within three weeks, pristine white roots emerge, transforming simple cuttings into flourishing plants ready for garden glory.
Monitor Progress and Watch for Root Growth
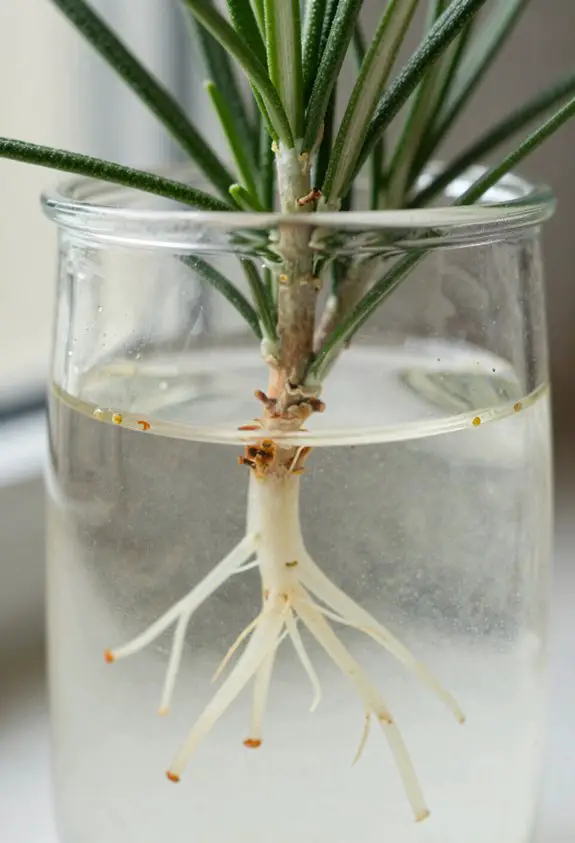
While patience becomes the gardener’s greatest virtue, vigilant observation reveals fascinating transformations happening beneath the surface.
Gently tugging the cutting after two weeks tests for resistance, indicating successful root growth has anchored the stem firmly in place. Healthy cuttings display vibrant green foliage and sturdy stems, while struggling specimens show yellowing leaves or wilting tips.
Clear containers offer the delightful advantage of watching delicate white roots emerge and spread through the soil like tiny fingers seeking nourishment. This enchanting period typically spans three to six weeks, depending on temperature and cutting health conditions present.
Transplant Rooted Cuttings Into Pots or Garden
When roots measure one to two inches long, the enchanting moment arrives to give these thriving rosemary babies their permanent homes.
Gentle potting techniques ensure success as gardeners carefully lift each cutting from its rooting medium. Well-draining soil types work beautifully, with combinations of potting mix, perlite, and coarse sand creating the perfect foundation.
Fill four-inch containers with this golden mixture, creating small holes for delicate root systems. Position each cutting at the same depth it grew before, pressing soil firmly around stems.
Water thoroughly until moisture flows from drainage holes, then place pots in bright, indirect sunlight where new growth will flourish gloriously.